
This image was created using Blender. Interested in learning how to use Blender? Become a member of Coding.Academy today.
If you are yet to try AR (Augmented Reality) then you are missing out on what Apple expects to be the next big craze. In this lesson we will take a look at how to use Apple’s Reality Composer.
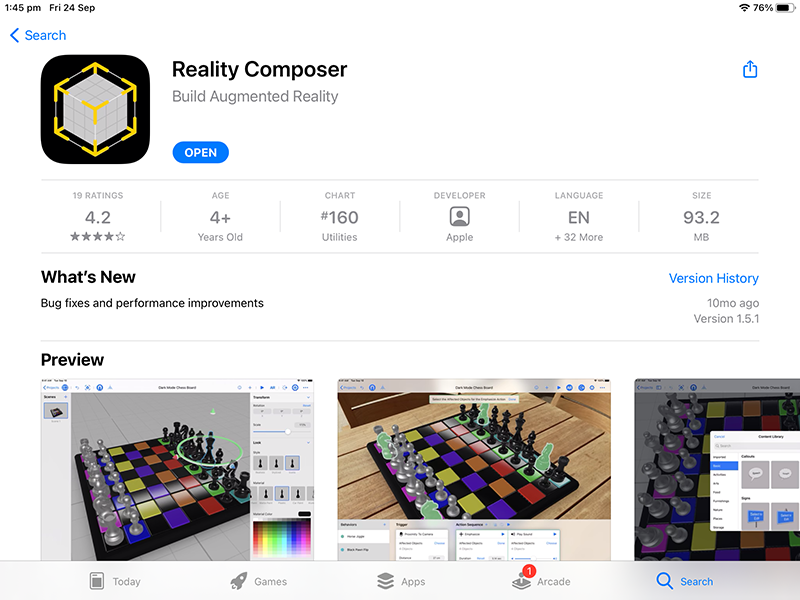
WHERE CAN I DOWNLOAD REALITY COMPOSER?
As with most things Apple, you can download Reality Composer from the App Store.
WHAT HARDWARE DO I NEED TO RUN REALITY COMPOSER?
At the time of writing, Reality Composer requires iPadOS 14.1 or later and will run on 5th generation iPads and above. For a full list of compatible devices just check the App Store.
Reality Composer will also run on iPhone 6S and above with iOS 14.1 or later. However, I would recommend using an iPad if you wish to create your own AR scenes.
The iPad has a good deal of screen real estate to be able to create scenes comfortably although the extra space on the larger iPad Pro is a bonus!
HOW TO CREATE A NEW PROJECT IN REALITY COMPOSER
STEP 1
Once you have opened Reality Composer you can either click on ‘Create Document’ or the ‘+’ icon to create a new project.

STEP 2
Select an anchor for your project. This literally means that you are selecting the surface upon which your AR experience will appear. You have a choice of:
Horizontal - for table tops and flat horizontal surfaces
Vertical - for walls and vertical surfaces
Image - if your project will be attached to an image
Face - for augmenting faces using a TrueDepth camera
Object - for anchoring to a scanned object
For your first project, I recommend selecting the Horizontal anchor.

STEP 3
The default scene will include a cube and a some text “Select to Edit”.
You may need to pinch to zoom in on the cube.

HOW TO DELETE AN OBJECT FROM A SCENE IN REALITY COMPOSER
You may wish to delete the default cube and the text.
To delete an object from the scene in Reality Composer simply tap on the object to select it and then tap again to bring up the options menu.

HOW TO ADD AN ASSET TO A SCENE IN REALITY COMPOSER
From the top menu click on the ‘+’ symbol and the Content Library will appear.
There are many objects to choose from or you may wish to import your own if you have objects in USDZ format. Note that you may need to convert your 3D asset to USDZ format. There are many tools available for doing this including Apple’s Reality Convertor.

Select the object you wish to add to your scene.
HOW TO NAVIGATE THE SCENE IN REALITY COMPOSER
Moving around the scene in Reality Composer should be fairly intuitive.
The standard pinch to zoom works.
Use a single finger to rotate the scene.
Use 2 fingers to pan across the scene.
HOW TO MOVE AN OBJECT IN A SCENE IN REALITY COMPOSER
To move an object in a scene in scene, tap on the object to select it. You will notice that a widget appears around the object. Use the control arrows to move the object in each of the 3-dimensions.

The blue and red arrows will move the object horizontally and the green arrow will move the object vertically.
A single tap on any of the arrows will show a matching coloured ring. These rings can be used to rotate the object.

HOW TO CHANGE THE APPEARANCE OF AN OBJECT IN REALITY COMPOSER
It is possible to change the appearance of an object in Reality Composer.
The options available depend on the asset selected.
To view the options click on the gear wheel icon on the right of the top menu. (Shown in the image below)
Select your object and the various appearance options will be available.

For the default cube you can select any of the following:
material
colour
width
height
depth
bevel radius
For the sphere you will be limited to:
material
colour
Some of the more interesting assets have many more options and you can produce some really interesting outcomes.
The spring asset has a larger number of options:
material
colour
end roundness
diameter
height
revolutions
thickness
The image below shows the BEFORE and AFTER when some of the options have been applied. Pretty cool and very easy to do!

HOW TO ADD BEHAVIOURS TO ASSETS IN REALITY COMPOSER
You can add behaviours to assets in Reality Composer.
Click on the Behaviours icon which is located towards the far right of the top menu.

Below the scene window the Behaviours Window will appear. Click on the ‘+’ to add a new behaviour.

Behaviours consist of a trigger and an action sequence.
You can select from:
Tap & Flip
Tap & Play Sound
Tap & Add Force
Start Hidden
Wait & Show
Proximity & Jiggle
Custom
TAP & FLIP
When you click on the object in the scene it will animate and flip over. You can adjust several options such as duration, motion type and style.
TAP & PLAY SOUND
After you tap an object you can play a sound. This can be really useful for providing a rich experience for the user. It can also be used to provide instructions.
TAP & ADD FORCE
This will add an impulse force to the object. Combining this with some of the physics properties will allow you to create a very simple AR game.
START HIDDEN
When the scene starts you can opt to hide an object. There are several options you can change including the duration and the movement e.g. move to left, move up, pop, scale etc
WAIT & SHOW
You can choose to hide an object when the scene starts and then have it appear after a fixed duration. This can be useful if you have a lot of elements in your scene and want to draw attention to particular objects.
PROXIMITY & JIGGLE
When you get close to an object you can opt to make it jiggle. You can change the proximity distance and the motion type. This can be a useful behaviour if you wish to indicate that the user can interact with the object.
CUSTOM
As it says, you can create your own custom behaviours. Using some of the triggers and action sequences you can create some simple AR games including Angry Birds style games or even a mystery puzzle to solve between multiple scenes. You are only really limited by your creativity.

HOW TO DELETE A BEHAVIOUR, TRIGGER, OR ACTION SEQUENCE IN REALITY COMPOSER
If you wish to delete a behaviour, trigger, or action sequence then tap and hold on the step you wish to delete.
HOW TO ADD PHYSICS PROPERTIES TO OBJECTS IN REALITY COMPOSER
You can add physics properties to objects by clicking on the gear icon (top right of the menu).
There are several physics properties available.
The first thing you will need to do is slide the toggle next to ‘Participates’ so that the object will participate in any physics in the scene.
Next, click on the motion type and set it to dynamic if you want the object to move when physics properties are applied.
You can also select the material for the property. There are various materials available including:
Concrete
Ice
Lead
Plastic
Wood
Rubber
The type of material selected will affect the reaction to any forces applied.
The next option is the collision shape. Choose the most appropriate collision shape for your object.

HOW TO EXPORT FROM REALITY COMPOSER
Once you have created your scene you can export it so that it can be viewed on a compatible device.
Click on the 3 dots (top right of the menu) and select Export and then select Current Scene in the popup that appears and then click on Export.
You may wish to rename your project prior to exporting.

WOULD YOU LIKE TO LEARN MORE?
Become a member of Coding.Academy now and get full access to all courses. You will be ‘grandfathered’ in at the current price. This means no price rises and you will continue to get full access to all current and future courses and tutorials.
